

Things Needed: Flat-head screwdriver, Replacement bulb 2057 (or 2057LL) if replacing bulbs, Gloves (recommended)
- Turn the engine off and open the rear hatch.
- Remove the interior cargo liner in front of the tail light you want to remove. Use a flat-head screwdriver to remove the liner.
- Pull back the carpet behind the cargo liner to access the tail light wingnuts.

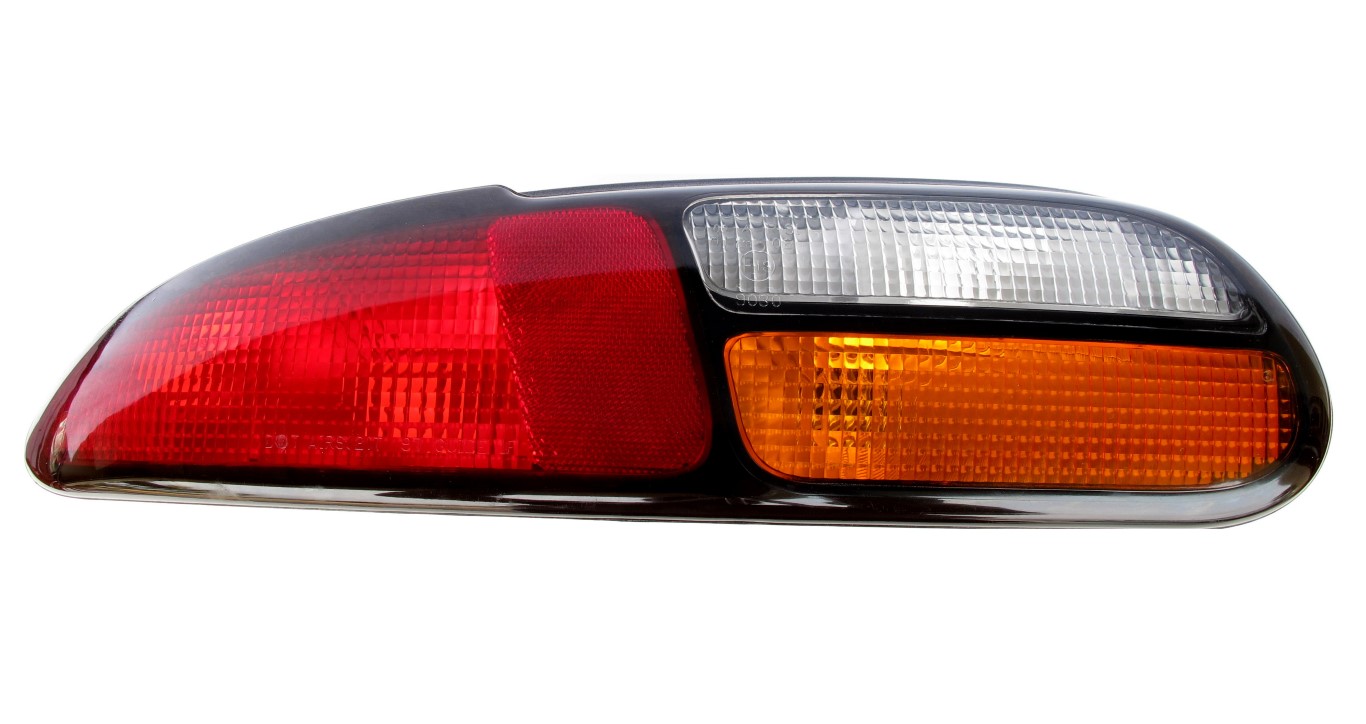
- Remove the wingnuts (turn them with your hand), and then carefully pull the tail light assembly from the Camaro.

- Press the plastic tab on the tail light connection, and then unplug it from the bulb socket. If replacing the entire Headlight Assembly, do this with all sockets.
- Push the bulb socket in and turn it 90-degrees counterclockwise to release it from the tail light housing. Pull the old bulb off if replacing the bulb.
- Insert the new bulb into the bulb socket. Do not touch the bulb with your bare hands. Either wear gloves or hold the bulb by its base. Insert the socket back into the tail light housing. Push the socket in and turn it 90-degrees clockwise.
- Tighten the wingnut by hand (do not over-tighten it) to secure the tail light housing. Push the carpet back in place, and then replace the cargo liner and tighten the screw.
Warnings: Touching the replacement bulb with your bare hands could cause it to fail because of the natural oils on your skin.
